Repairing Epoxy Floor Damage in a Garage: Peeling, Hot-Tire Lift, Cracks and Removal
A failed floor gets fixed in the wrong order more often than not: new coating first, questions later. Repairing an epoxy garage floor starts with why it let go, because the same cause will lift the repair. Sometimes the honest answer is a small patch. Sometimes the whole coating has to come off. And sometimes the slab is the problem and no coating will fix it.
Repairing Concrete Garage Floor Damage Starts with a Diagnosis
Coating failures leave evidence, and most of it can be read in the garage with a putty knife, a flashlight and a peeled piece turned over in your hand. Pick what your floor is doing. Each answer lists the likely causes in order, the check that confirms it, and the size of the fix it usually needs.
Pick the symptom that matches your floor
- Spot repair
- Recoat
- Full removal
- Concrete work
- Peeling in sheets that show bare gray concrete underneath Likely causes, most likely first
- The slab was never mechanically profiled. It was cleaned, acid-washed or rolled as-is, so the film stuck to dust, the weak top skin of the concrete or an old sealer.
- Moisture vapor pushing up from below and breaking the bond over time.
- Oil or tire residue that was never ground out.
The check that confirms itTurn a peeled piece over. A smooth, clean back with gray dust on it means the coating never bonded into the concrete. Grains of concrete stuck to the back mean the bond held and the concrete surface itself gave way. Then run a putty knife along the edges of the sound-looking areas to see how far the loss goes.
The usual fixFull removal When sheets come up in more than one area, the rest of the film shares the same bad bond. Grind it all off, test for moisture, and start over on a profiled slab. A single small area with tight edges can be cut back and patched.
- Lifting only in the tire lanes, usually after hot days Likely causes, most likely first
- A weak bond to the slab from poor prep. Installers and coating sellers who write about hot tire pickup point to adhesion as the root cause.
- A thin or under-cured film: a one-part or water-based kit, or a car parked on it before it cured.
- The trigger itself: the industry explanation is that plasticizers in a hot tire soften a vulnerable film, the cooling tire grips it, and the next pull-out tears it off the slab.
The check that confirms itLook for lifted patches shaped like a tread, often with the tread pattern printed on them, and a clean underside. Then test the bond away from the lanes with a putty knife and a strip of duct tape pressed down and ripped up. If the film outside the lanes stays put, the problem is local.
The usual fixSpot repair or full removal Bond good everywhere else: grind the lanes back to sound edges, rebuild them and topcoat. Film lifts easily outside the lanes too: the whole floor is under-bonded and will keep failing lane by lane.
- Blisters or bubbles that hold liquid when you pop them Likely causes, most likely first
- Moisture moving up through the slab and collecting under the film. A coating that doesn’t let vapor pass traps it at the bond line.
- A slab that was never tested, or tested above the coating maker’s limit and coated anyway without a moisture-mitigating primer.
- Dry pinholes or craters are a different problem: air escaping from the concrete while the coat cured. They are cosmetic far more often than liquid-filled blisters are.
The check that confirms itA moisture test, and the right one. In-slab relative humidity probes (ASTM F2170) are drilled into the concrete, so they can be run through an existing coating. The calcium chloride dome (ASTM F1869) is a test for bare concrete and can’t be read over a coating.
The usual fixFull removal The moisture doesn’t stop, so a recoat traps it again. Remove the coating and, if the reading calls for it, put a moisture-mitigating primer rated for that number under the new system.
- White powder or crust under lifted film, at cracks or along the edges Likely causes, most likely first
- Efflorescence: water moving through the slab dissolves mineral salts from the cement and leaves them behind as it evaporates. Under a coating, the salt builds up at the bond line and the film delaminates from the concrete.
- A water source the coating can’t stop: wet soil against a basement wall, a high water table, or a slab poured with no vapor barrier.
- Salt residue that was coated over instead of removed. Dulux’s tech note is blunt about it: efflorescence “should not be coated over.”
The check that confirms itRub the powder between your fingers. Efflorescence is crystalline, and it comes back after you brush it off. Road salt tracked in from a driveway sits on top of the film and wipes away. Then look at where it appears: concentrated at cracks, joints and the wall line points to water moving through the concrete.
The usual fixFull removal, and the water first Efflorescence stops only when the water moving through the concrete stops. That may mean drainage or waterproofing before any floor work. Then remove the coating and the salts, take a moisture reading, and use a moisture-mitigating primer if the number calls for one.
- A white haze or a greasy, waxy film between coats Likely causes, most likely first
- Amine blush: the curing agent in epoxy reacts with water and carbon dioxide in the air and leaves a carbamate film on the surface. Sherwin-Williams and KTA both tie it to low temperature and high humidity.
- An unvented propane or kerosene heater during a cold-weather install, which adds both moisture and carbon dioxide to the garage air.
- A slab or coat too close to the dew point, so condensation formed while it cured.
The check that confirms itWhere the floor failed, look at what came off. If the topcoat peels away and leaves the base coat stuck to the concrete, the failure is between coats, not at the slab. Blush feels sticky, oily or waxy, and Sherwin-Williams notes it washes off with water because it is water-soluble.
The usual fixRecoat Remove the loose topcoat, wash the blush off with warm water and detergent (solvents don’t remove it), sand the base so the new coat has a profile, and recoat in a warm, dry garage.
- Yellowing or ambering, worst near the door Likely causes, most likely first
- Sunlight on epoxy. Benjamin Moore’s epoxy data sheet says the product “will amber and chalk” in UV light, and Sika says its 264 epoxy will discolor in sunlight.
- No UV-stable topcoat, or one that has worn through in the traffic lanes.
The check that confirms itCompare the strip the sun hits when the door is open with the back of the garage, and run a putty knife along it. Ambered film that is still tightly bonded is a looks problem, not a failure.
The usual fixRecoat, if it bothers you Sand and add a UV-stable topcoat. One limit: Sika warns a UV-resistant topcoat may not stop the coats underneath from discoloring, and a clear coat won’t undo color that has already shifted. A tinted topcoat covers it.
- Cracks telegraphing up through the coating Likely causes, most likely first
- A crack in the slab that still moves with the seasons, under a film too rigid to move with it.
- A crack that was coated over without being opened up and filled first.
- A control joint that was filled and coated as if it were a crack. Joints are meant to move.
The check that confirms itMark both ends of the crack in pencil, date it and look again after a season. Note whether it runs along a joint line and whether one side sits higher than the other. Growth or a step means movement.
The usual fixSpot repair, or concrete work A crack that has stopped moving gets the coating cut back, the crack opened and filled, and the strip rebuilt. A crack that keeps growing or steps up is a slab problem; see the crack explorer below.
- Chipped edges at the door and along the joints Likely causes, most likely first
- Impact: snowblower and shovel blades, a plow edge, dropped tools and jack stands.
- A coating that thins out to nothing at the door instead of ending in a ground-in edge.
- Joint edges with no support underneath, so tires break the coated lip.
The check that confirms itScrape around each chip. If the film stops lifting at the chip’s edge, it is impact damage on a sound floor. If it keeps lifting, treat it as a bond problem and go back to the first symptom.
The usual fixSpot repair Square the chip off, grind a clean edge, fill and rebuild the layers. At the door, grind a termination so the new edge sits inside the concrete instead of feathering out on top of it.
- Spalled, pitted concrete at the door apron Likely causes, most likely first
- Freeze-thaw with deicer brine. Meltwater dripping off the car collects at the threshold, soaks in and freezes; federal research calls surface scaling the most common deicer damage on concrete slabs.
- Chloride salts reacting with the cement paste. Iowa DOT research names calcium and magnesium chloride as forming calcium oxychloride, an expansive compound.
- A weak, overworked top surface at the edge where the slab was finished last.
The check that confirms itTap the area with a hammer and listen for hollow spots, and pick at the edges to see how deep the loose concrete goes. Then decide which slab it is: the garage floor inside the door, or the driveway apron outside it.
The usual fixSpot repair, or concrete work Inside the door: grind out everything loose, rebuild with a repair mortar or epoxy patching compound, then coat. Outside the door, deep scaling or broken concrete on the apron is a job for garage floor replacement contractors or a flatwork crew, not a coating.
A field guide, not a verdict. Two causes often stack up on one floor, and some calls need a moisture reading or a look in person.
Sources: hot tire pickup, industry explanations from installers: Duration Concrete Coatings · Premier Edge. Amine blush: Sherwin-Williams · KTA-Tator. UV: Benjamin Moore HP4300 TDS · Sikafloor-264 PDS. Efflorescence: Dulux Protective Coatings Tech Note 1.3.4. Moisture tests: Tramex on F2170 · ASTM F1869 scope. Deicers: FHWA-HIF-17-008 · Iowa DOT TR-697.
Patch, Recoat or Strip? How Garage Floor Repair Contractors Decide
The decision comes down to one question: is the coating still bonded to the concrete? Where it is, it can be repaired or recoated. Where it isn’t, nothing put on top of it will hold. The diagnosis tells you why it let go; the bond check tells you how much of the floor is affected.
We check bond the low-tech way first: a stiff putty knife pushed under the film at the edge of the damage, then at a few spots well away from it, and duct tape pressed hard onto scuffed film and ripped up. If the film only lets go where it is visibly damaged, the rest of the floor is worth keeping. If it lifts in clean sheets wherever the knife goes, it isn’t.
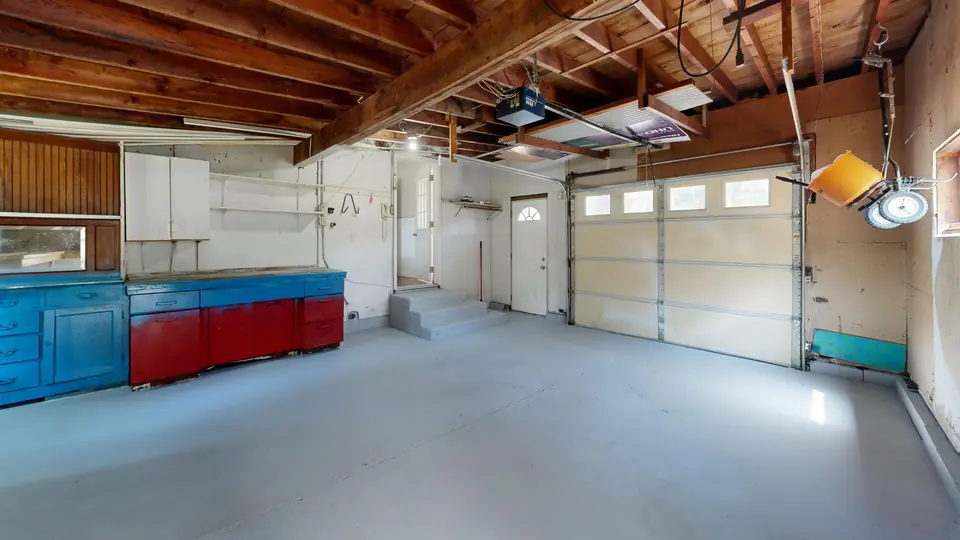
- Spot repair
When: the damage is local, the film around it is tight, and the cause won’t come back (an impact chip, one crack, one lifted lane on an otherwise sound floor).
Cut back to sound film, grind a keyed edge, fix the concrete underneath, rebuild the layers. On a flake floor, a patch will show: chip blends change, and the old topcoat has dulled and may have ambered. Ending the patch on a joint line hides the edge better than an irregular blob. If you are weighing a patch on a broadcast floor, it helps to know how a flake broadcast is built.
- Recoat
When: the film is bonded everywhere but worn, scratched, dull, ambered, or blushed between coats.
Sand or screen the whole surface so the new coat has a profile, clean, and roll a fresh topcoat. Epoxy data sheets set a maximum recoat window, 24 hours at room temperature for Sikafloor-264 and Benjamin Moore HP4300, and call for abrading after that, so a years-old floor is always sanded first. A UV-stable polyaspartic topcoat is the usual pick for a sunny doorway.
- Full removal
When: bond is lost in more than isolated spots, there are liquid blisters, the coating sits on paint or an old sealer, or there are several layers of earlier repairs.
Grind or blast everything back to clean concrete, test for moisture, repair the slab, then build a new system. That last step is a new floor, not a repair, and it is covered on the page about recoating the garage once it’s stripped. Some owners decide after removal that they don’t want a film at all; a penetrating sealer or ground and polished concrete leaves nothing to peel.
- Concrete work, not coating work
When: slab sections have settled or heaved, cracks are wide and still moving, or the door apron is broken up.
Recoating a slab that is failing is money wasted; the new film cracks along the same lines the next winter. That is a job for concrete floor repair contractors who lift or replace sections, or for garage floor replacement contractors when the slab is past saving. We’ll tell you if a concrete contractor is who you need, and the coating can come after.
Recoat windows: Sikafloor-264 PDS (8 h minimum, 24 h maximum at 68°F) · Benjamin Moore HP4300 TDS (abrade if recoating after 24 h). Product names show what the published limits look like; they are not the brands we use.
Why Door Aprons Crack and Old DIY Coatings Peel First in Cedar Rapids
The first four feet inside a garage door take the worst of a Cedar Rapids winter. The city pre-treats streets with a brine of roughly 23 percent salt, and in deep cold it moves to a sand, salt and chloride-flake mix. All of that drips off the car right at the threshold. The airport averages 144 nights a year at or below 32°F, so that wet strip freezes and thaws over and over between November and March.
The federal highway research on deicers describes the damage starting as a “shadowing” along joints before the concrete breaks down, and Iowa DOT’s guide to early joint deterioration names the chloride salts behind it. In a garage, that is the spalled apron and the chipped joint nearest the door, and it is where a weak coating bond is found first.
The other local pattern is age. The median Cedar Rapids home was built in 1976, so many garage slabs are around fifty years old and have already had something rolled onto them: porch paint, a clear sealer, a one-part kit. Each one has to come off before a real repair can bond. And pro-grade material is easy to buy here. A coatings supplier on Robins Road in Hiawatha sells grinders, epoxy and polyaspartic kits and runs epoxy training classes, so a floor here may well have been coated by a homeowner or a newer crew using good material. When one of those fails, the cause is usually prep, film thickness or cure conditions, the same as on any other floor.
Sources: City of Cedar Rapids snow and ice control · NOAA 1991–2020 normals, CID · FHWA-HIF-17-008 · Iowa DOT TR-697 · Census ACS 2024 · Xtreme Polishing Systems, Cedar Rapids-area store
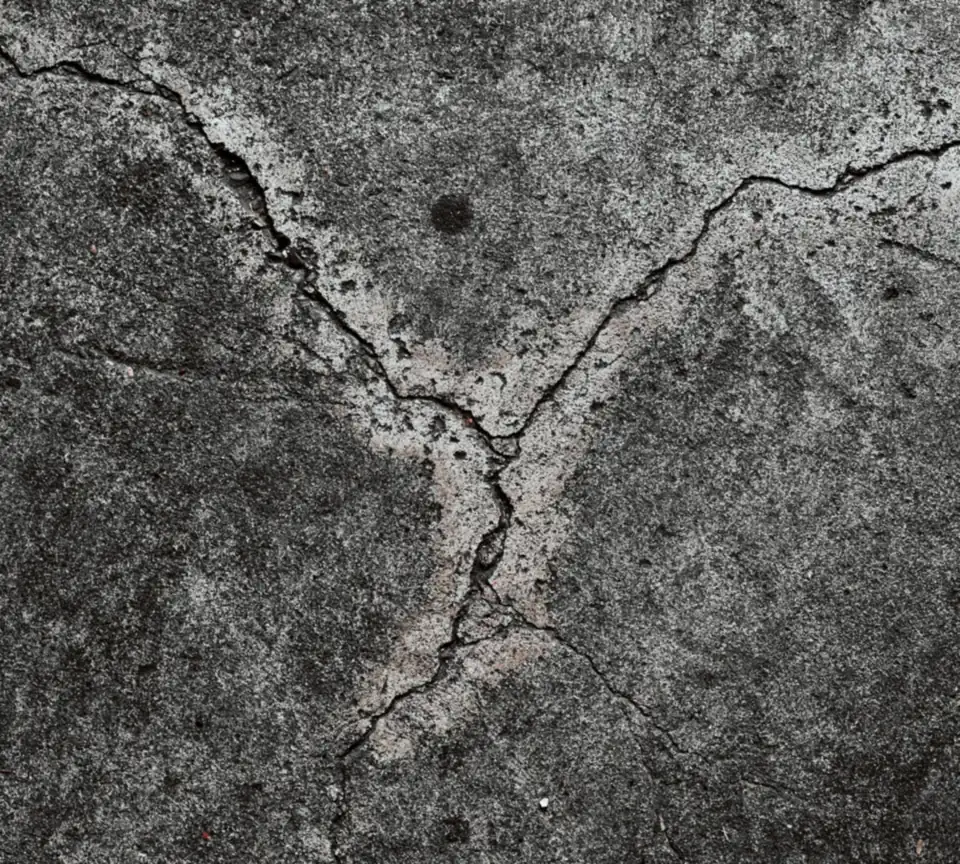
Removing Failed Epoxy: Grinding, Stripping or Shot Blasting
Every removal method trades dust, noise and speed against the surface it leaves behind, and the surface matters because the next coating has to bond to it. Concrete surface profile is graded on the ICRI scale from CSP 1 (nearly flat) to CSP 10 (very rough). Compare the methods below; the table holds the same information.
Pick a method to see how it compares
| Method | Dust | Noise | Profile left | Speed | Choose it when |
|---|---|---|---|---|---|
| Diamond grinding | Moderate when the head is shrouded and vacuumed | Loud, steady | Grinding is pictured at CSP 2 on the older ICRI visual scale; coarser tooling cuts deeper | Good in a garage: reaches close to walls, with an edge grinder for the rest. Slower than a blaster on a big open plant floor | Most garage removals. Thick or soft coatings that gum up diamonds are scraped off first with PCD tooling. |
| Shot blasting | Low: a closed loop recycles the steel shot into a dust collector | Very loud | Light shotblast CSP 3, medium CSP 4 in the older guideline, heavier passes rougher still | Fastest on open warehouse and plant floors. In a garage the edges still need a grinder | Large floors, brittle coatings, and thicker systems that call for a rougher profile. Stray shot gets swept up with a magnet. |
| Scarifying | High | Very loud, with heavy vibration | Grooved and very rough, more than a thin coating wants; usually needs a resurfacer after | Steady on large areas; rarely the right tool in a garage | Thick build-ups, several layers of old coatings, overlays, or high spots that have to come down. |
| Chemical stripping | Very low, but fumes and sludge instead | Quiet | None: it lifts the film but leaves the concrete as it was, so the slab still gets ground afterward | Slow everywhere: dwell time, scraping, cleanup. Cured two-part epoxy resists many strippers | Stem walls, steps, small areas a grinder can’t reach, and paint or sealer rather than epoxy. |
| Hand tools (scraper, chisel, cup wheel) | Low to moderate | Low to moderate | Uneven; not a coating-ready surface | Small areas only | Loose peeling paint that is already letting go, corners, around drains, and the edge of a spot repair. |
Bars compare the methods with each other on a simple low-to-high scale. They are not measurements.
About those CSP numbers. The grinding and shotblast figures come from ICRI’s older guideline #03732 as reproduced on a supplier’s visual scale. ICRI has since replaced it with Guideline 310.2R, and the coating’s own data sheet names the profile it needs: Sika, for example, asks for CSP 3–4 under its 264 epoxy.
About strippers. The strongest old-style stripper, methylene chloride, can no longer be sold to consumers for paint and coating removal: EPA banned that use in 2019 after deaths from exposure, and its 2024 rule bans all consumer uses. What is left on store shelves is slower on cured epoxy.
Sources: ICRI CSP scale (DeFelsko) · Clemtex reproduction of ICRI #03732 · Sikafloor-264 PDS · EPA methylene chloride rules
Cracks, Spalls and Joints: What Concrete Floor Repair Contractors Fill With
Not every line in a slab is a defect, and not every defect is a coating job. The right filler depends on whether the concrete on each side still moves. Pick a type to see what it is, whether a coating repair can handle it, and when it’s honestly a concrete job.
Pick a crack type
- Hairline shrinkage crack
Coating repair handles it: yes
What it is Thin, random cracks from the concrete shrinking as it dried. Common on older slabs, often decades old and long since stable.
The approach Grind along the crack, fill it with a rigid epoxy or polyurea crack filler, grind the fill flush, and coat over it. A stable hairline usually disappears under a flake broadcast.
When it’s a concrete job Almost never, unless it starts widening or one side drops.
- Control joint (the straight saw cut)
Coating repair handles it: with limits
What it is A groove cut on purpose so the slab cracks along a straight line instead of randomly. It is designed to open and close a little with temperature.
The approach Two honest options: fill it with a semi-rigid joint filler that supports the edges under tires but gives slightly, or keep it open and coat around it. Filling it with rigid crack filler and coating over it invites a straight crack through the new coating.
When it’s a concrete job When the joint edges are broken down badly enough that they need rebuilding before any filler will hold.
- Active crack that keeps moving
Coating repair handles it: with limits
What it is A crack that widens in winter and closes in summer, or keeps getting longer. The pencil-mark test over one season tells you.
The approach Treat it like a joint: a flexible or semi-rigid filler, and accept that a line will show in the coating there. A rigid fill and coating over a moving crack just moves the crack up into the new film.
When it’s a concrete job When it is wide, still growing, or one side sits higher than the other. That points to the soil or the slab, not the surface.
- Spall or pop-out at the door
Coating repair handles it: yes, inside the door
What it is Pieces of the top surface breaking away, usually where salty meltwater freezes at the threshold. Pop-outs are small cone-shaped pits where a piece of aggregate near the surface broke loose.
The approach Chip and grind out everything loose until the edges are sound, then rebuild with a repair mortar or an epoxy patching compound before the coating goes on.
When it’s a concrete job When it is the exterior apron or driveway that is breaking up, or the damage goes deep enough that the edge of the slab is coming apart.
- Settled or heaved slab section
Coating repair handles it: no
What it is A part of the slab that has dropped or lifted relative to the rest, often with a wide crack along the edge. Water pooling where it never used to is an early sign.
The approach Not a coating. The section has to be lifted or replaced first, and the coating repaired afterward if it is still worth repairing.
When it’s a concrete job Always. This is where we hand you to a concrete crew or garage floor replacement contractors and come back once the slab is stable.
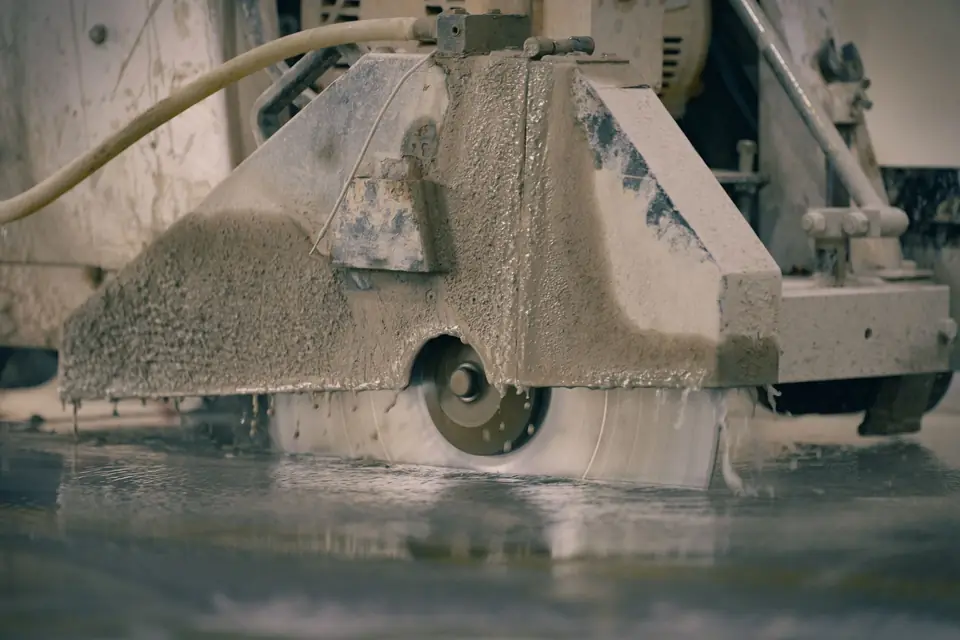
Filler products differ by maker, so ask which one is going into your joints and cracks, and for its data sheet. What matters is the type: rigid for cracks that have stopped moving, semi-rigid or flexible for anything designed to move.
What to Ask Garage Floor Repair Companies
Repair bids are harder to compare than new-floor bids, because two companies can look at the same peeling floor and propose a patch and a full tear-out. These questions sort out who has actually diagnosed it.
- What do you think caused it, and how did you check?A cause with evidence behind it (the back of a peeled piece, a bond check, a moisture reading) beats “old epoxy just does that.”
- Will you test moisture through the existing coating?RH probes (ASTM F2170) can be drilled through it. Someone offering only a calcium chloride dome on a coated floor is running the wrong test.
- Where does the repair stop, and what does the edge look like?Sound film at the edge, a ground-in termination, ideally on a joint line. Not “we’ll feather it in.”
- How will the patch look next to the old floor in a year?The honest answer is “different,” with a plan for making that acceptable.
- Which removal method, and how do you control the dust?A named method, a shrouded head on a HEPA-filtered extractor, and the profile it will leave for the next coat.
- What happens at the stem wall, drain and door threshold?These are where repairs fail first. Each should be on the written scope.
- If the slab is the problem, will you say so?Good garage floor repair contractors will send you to a concrete crew when a slab is settling or heaving, even if it means no coating job for them.
If you are starting from bare concrete rather than a failed floor, our overview of epoxy floor coating walks through testing and prep from the beginning.
Repair Questions from Cedar Rapids Garage Owners
Can you patch just one area of a coated floor?
Often, yes, if the failure is local and the coating around it is still bonded. We cut back to film that a putty knife can’t lift, grind the edge so the new material has something to grab, fix whatever caused the damage (a chipped joint edge, a crack, a pitted spot at the door) and rebuild the layers. If the knife lifts the film a foot past the damage in every direction, it isn’t a spot problem, and patching it only moves the edge of the failure.
Will the patch match the rest of the floor?
Not perfectly, and you should hear that before anyone starts. The old floor has years of wear, dulling and, if it is epoxy without a UV-stable topcoat, some ambering. Flake blends get discontinued or reformulated. A patch on a flake floor will show up close. What helps: matching the chip blend as closely as the supplier allows, ending the patch on a control joint or another straight line so the edge looks intentional, and a fresh topcoat over the whole floor when the color difference bothers you.
Can a new coat go over a floor that’s peeling?
Not over the peeling part. A new coat bonds to the old one, and the old one is already losing its grip on the concrete, so the new layer comes up with it, usually within a season. A sound, well-bonded coating that is only worn or dull can be sanded and recoated. A floor that is letting go in more than a few isolated spots needs the old coating removed first.
How long does removal take on a two-car garage?
It depends more on what is on the floor than on its size. Paint or a thin one-part kit that is already lifting comes off quickly. A well-bonded multi-coat system is the slow case, and so is a coating that gums up the grinding tooling. Old patches, mastic or tile adhesive under the coating add time. We give a day count after a test pass on your floor, not before, because a hidden moisture problem can change the whole plan.
Is removing an old coating dusty?
Grinding and shot blasting make dust, and concrete dust contains crystalline silica, so it should be captured at the source, not swept up afterward. That means a shrouded grinder head connected to a HEPA-filtered dust extractor, with the garage door open and the house door closed. Expect some fine dust on shelves anyway; empty or cover them. Chemical stripping makes almost no dust but trades it for fumes, slow dwell times and sludge to clean up.
Why did my floor peel after one winter?
Winter finds a weak bond fast. Salty meltwater sits on the floor for days, works into any chip or edge where the coating isn’t fully bonded, and freezes there on cold nights; Cedar Rapids averages 144 nights a year at or below freezing. Tires come in cold and wet and sit on the same two lanes every night. The usual root cause is still the install: a slab that was cleaned or acid-washed instead of ground, a film that was too thin, or a coat applied in a cold, damp garage. Look at the back of a peeled piece: a clean, smooth underside points to the bond, not the weather.
Send Close-Ups of the Failure for a Repair Estimate
Photos tell us most of what we need before we visit: one of the whole floor from the door, close-ups of every area that is peeling, blistered or cracked, and one of the underside of a peeled flake. Mention when it started and whether it gets worse after hot days or after winter.
- We reply by phone or email. If the floor needs a moisture test or a look in person before anyone can name a system, we say so instead of guessing.
- No price comes back until someone has seen the slab, in person or in good photos.
- If you're outside the area we cover, we'll tell you and point you toward someone closer.
Rather talk? (319) 302-3992 · info@cedarrapidsepoxypros.com